

By using VS Code, you agree to its license and privacy statement. By using VS Code, you agree to License & Privacy.
Documentation
Topics Overview Download and Install Get to Know VS Code Agents Quickstart Editor Tutorial Intro Videos Overview Get Started Find a Guide Set Up GitHub Copilot Agents Quickstart Agents Tutorial Cloud Continuity Tutorial Best Practices Work with AI Inline Suggestions Chat View Agents Window Inline Chat & Quick Chat Use Chat Canvases Add Prompt Context Review & Revert Changes Configure the Agents Window Plan and Run Tasks Plan Work Use Tools Browser Tools Subagents Automations Sessions Manage Sessions Organize & Triage Sessions Memory Artifacts Permissions and Security Approvals & Permissions Agent Sandboxing AI Security Choose Models and Agents Choose and Configure Models Choose an Agent Harness Move from Local to Copilot Compare Model Results Customize and Extend Overview Plugins Agent Skills Instructions Custom Agents Copilot Connectors Add and Use MCP Servers Manage MCP Servers Hooks Prompt Files Migrate Existing Customizations Work Across Apps and Machines Remote Agent Sessions Cloud Sessions Session History Tutorials & Guides Find a Guide Explore a Codebase Add a Feature Fix a Bug Refactor Safely Add Tests Test Web Apps Run Parallel Tasks Get Back on Track Adapt Agents to Your Project Context Engineering Test-Driven Development Jupyter Notebooks Reduce Credit Usage Prompt Examples Concepts Agents How Models Work Context Tools Sessions and Chats Trust & Safety Agent Harnesses Agent Customization Reference and HelpReference Cheat Sheet Tools and Context Workspace Context Settings Reference VS Code Pet Custom Agent File Reference Custom Instructions Reference Agent Plugin Authoring Reference MCP Configuration Hooks Reference OpenTelemetry Monitoring Agent Host Architecture Troubleshooting Troubleshooting Debug Chat Interactions Diagnose Prompt Caching FAQ Overview Getting Started Editor Tutorial User Interface Tips and Tricks Write code Basic Editing IntelliSense Inline Suggestions Smart Actions Code Navigation Refactoring Snippets Workspaces Overview Multi-Root Workspaces Workspace Trust Configure the editor Display Language Layout Keyboard Shortcuts Settings Settings Sync Extensions Overview Extension Marketplace Extension Runtime Security Themes Profiles Accessibility Overview Voice Interactions Command Line Interface Telemetry Reference Default Keyboard Shortcuts Default Settings Substitution Variables Tasks Schema Overview Quickstart Repositories & Remotes Staging, Commits & Undo History & Blame Branches, Stashes & Worktrees Merge Conflicts Collaborate on GitHub Troubleshooting FAQ Get Started Terminal Basics Terminal Profiles Shell Integration Appearance Advanced Debugging Debug Configuration Tasks Testing Integrated Browser Port Forwarding Guides & Tutorials Test-Driven Development Test Web Apps Overview Enterprise Policies Manage AI Settings Extensions Telemetry Updates Overview VS Code for the Web SSH SSH Tutorial Tunnels Dev Containers WSL WSL Tutorial GitHub Codespaces VS Code Server Linux Prerequisites Tips and Tricks FAQ GitHub Copilot Setup Linux macOS Windows Raspberry Pi Network Portable Mode Additional Components Uninstall Languages & Runtimes Extension DocsOn this page there are 6 sections
Tutorial: Continue a cloud agent session in your terminal
Start an agent task in Visual Studio Code, close the application, and continue the same conversation from GitHub Copilot CLI in a regular terminal. The agent runs in a managed cloud environment, so your development machine doesn't need to stay online for the task to run.
In this tutorial, you ask an agent to explore one of your private repositories and suggest improvements. Then you connect from your terminal and turn one suggestion into an implementation plan without repeating the repository context. You don't need to clone the repository, install its dependencies, or change any code.
If you haven't worked with agents before, start with the agents quickstart.
Prerequisites
- Install VS Code and set up GitHub Copilot.
- Use a GitHub account with access to cloud sessions. Availability depends on your account and organization.
- Have an existing repository on GitHub.com.
- Ensure the chat.agentHost.cloudSandbox.enabled setting is on in VS Code.
- Install the latest Copilot CLI. Choose a native installation option if you don't already have Node.js. Your account and organization must allow CLI access and cloud connections.
Requests use your Copilot plan's allowance. Review AI credits and model costs before starting.
1. Choose a repository
Choose a repository from your own projects that is available for cloud sessions. Pick a small project or focus on one feature to keep the exploration manageable.
The task only reads repository files and returns its findings in the conversation. You don't need to install dependencies or run the project for this walkthrough.
The cloud session works with the code available on GitHub.com. Uncommitted changes, local dependencies, and files that exist only on your computer aren't copied to the cloud environment.
2. Start the task in a cloud session
A cloud session provides an isolated environment for the agent to explore the repository without affecting your local setup. It runs on GitHub's infrastructure.
-
In VS Code, select Open in Agents in the title bar to open the Agents window.
-
Select New to start a session.
-
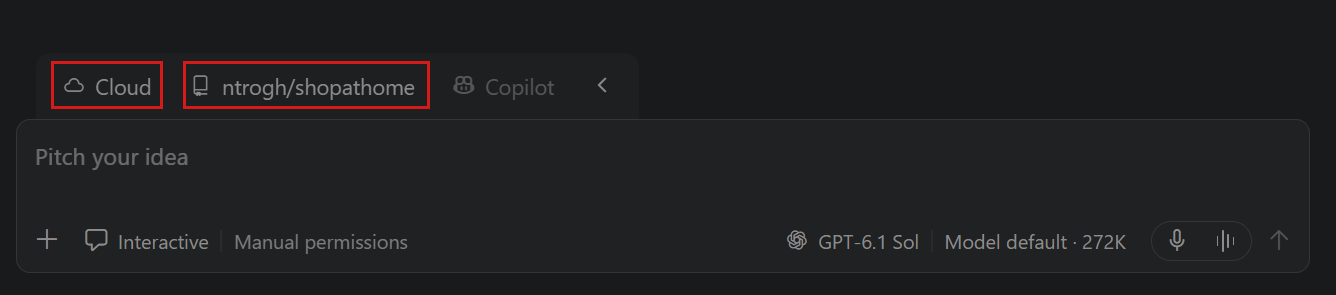
Choose the Cloud environment from the environment dropdown, then select Work in Repository from the workspace dropdown, and choose your private repository.
 [Screenshot of selecting the cloud environment and repository.]
-
Keep other options at their defaults.
-
Enter the following prompt:
copilot loginSign in with the same GitHub account you used to start the cloud session.
-
Type
/sessionsto view the list of sessions. Use right to select the Remote tab. -
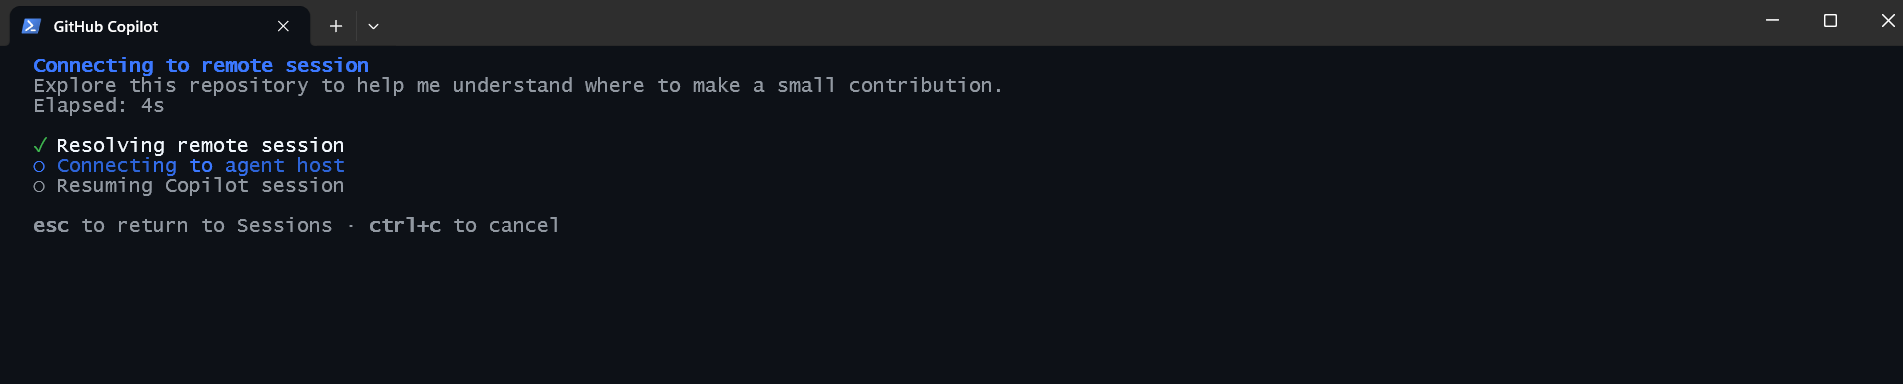
Choose the cloud session you started in VS Code. Match its title and repository to the task from the previous section.
 [Screenshot of the Copilot CLI connecting to the cloud session.]
-
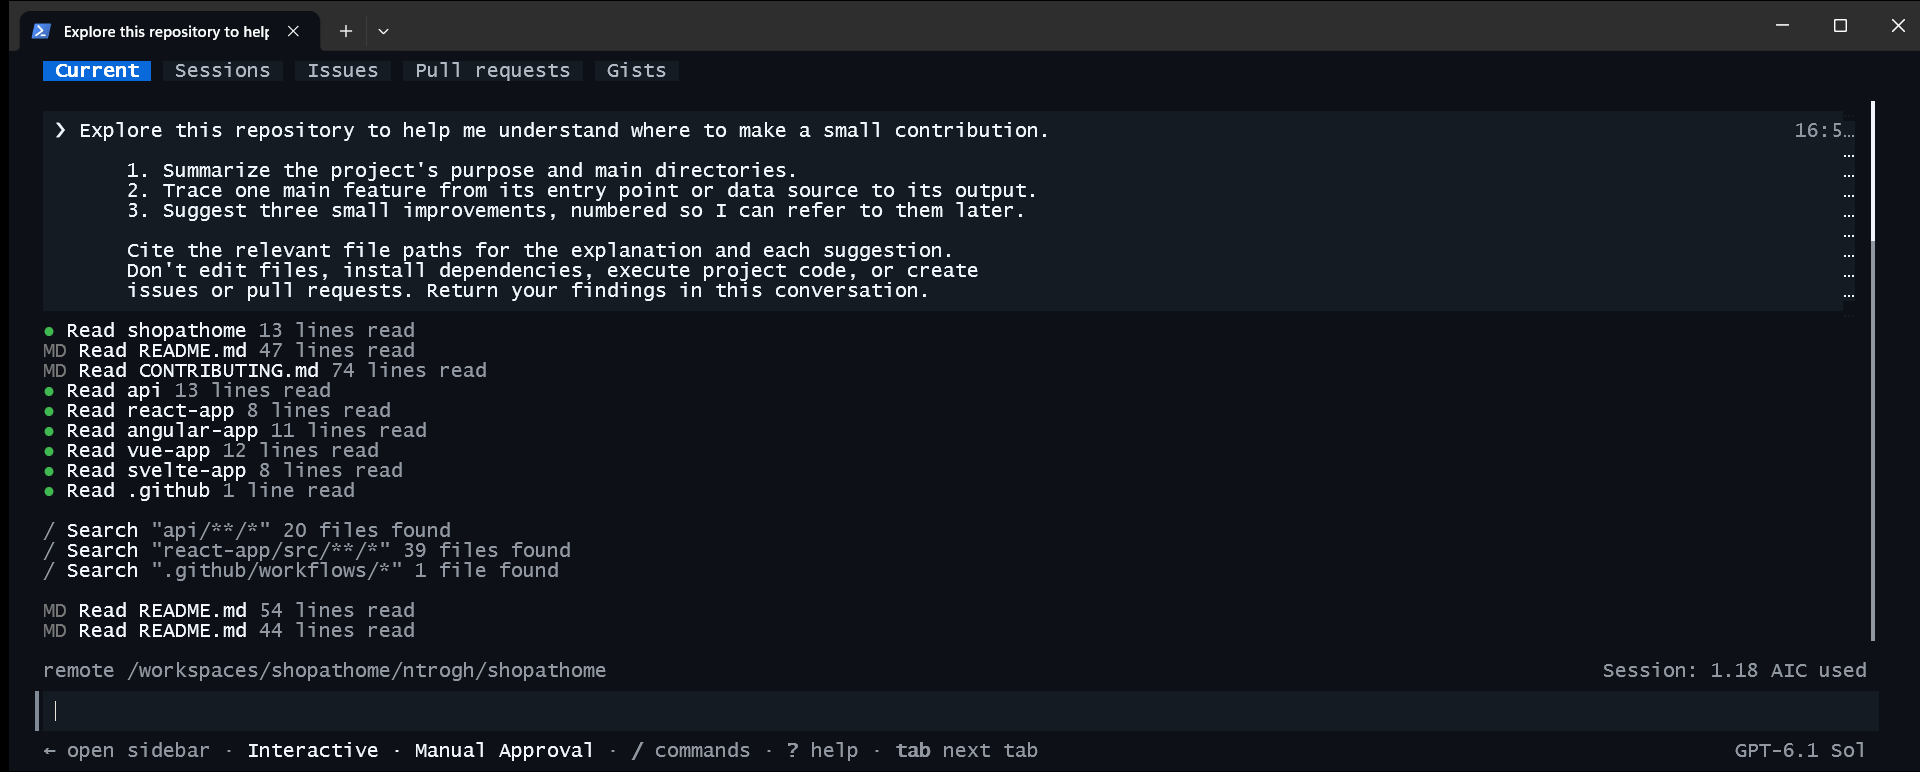
Wait for the connection, then check that the conversation includes your repository exploration prompt and the agent's progress or findings.
 [Screenshot of the Copilot CLI showing the ongoing conversation in the cloud session.]
-
Observe that the terminal now shows the ongoing conversation and the agent's progress. You can continue interacting with the agent as if you were in the original client.
The terminal is another client for the same session. Repository access and agent tools still run in the cloud environment, not in your terminal's current directory. You don't need a local clone.
If you already know the session ID or task ID, you can connect directly with copilot --connect=<session-or-task-id>. For details, see the CLI command-line options.
If you can't find or connect to the session:
- Check that both applications use the same account and that your account has cloud session access.
- Run
copilot --helpto check for--connect. If it's missing, update the CLI using the installation instructions. - Reopen the original session in VS Code and check its connection state. A saved transcript doesn't guarantee that the cloud environment is available for live work.
4. Continue without repeating the context
After the agent finishes its exploration, enter this follow-up in the connected CLI session:
| Web Proxy Viewer | New URL | Original Page |